阿里云全家桶搭建一个自有域名的 WordPress 博客三步曲:三、实战搭建
目录
通过前面两篇文章:一、域名+服务器准备 和 二、PHP+Mysql+Nginx环境搭建 这里我们开准备进行Wordpress安装,本文开始进入实战。
一、域名解析
将注册好的域名 www.ffeeii.com 解析到购买的服务器,
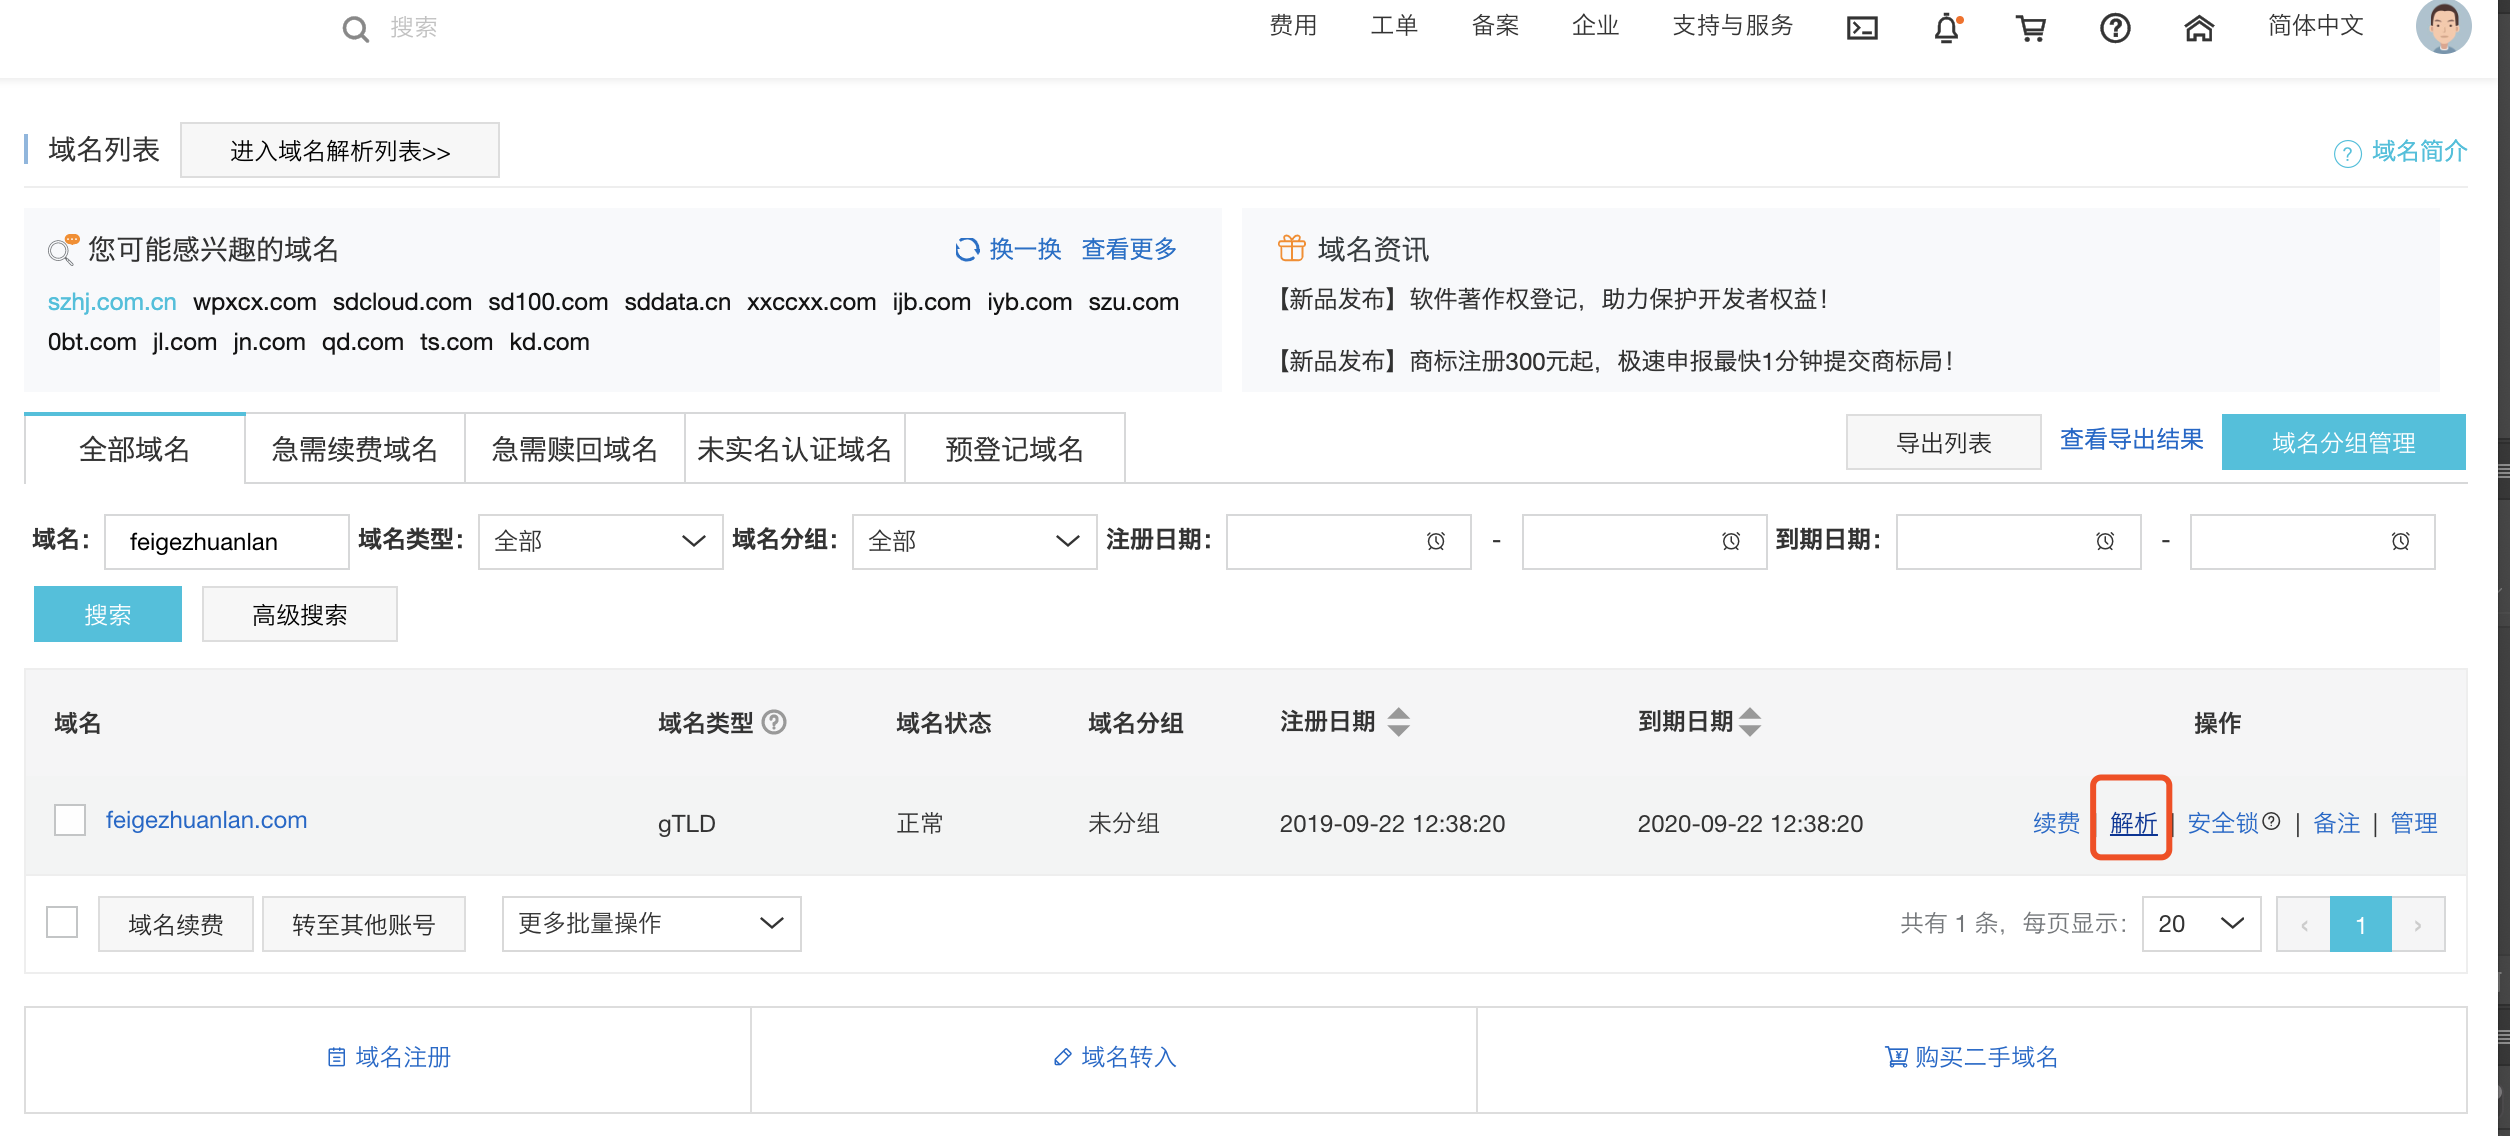
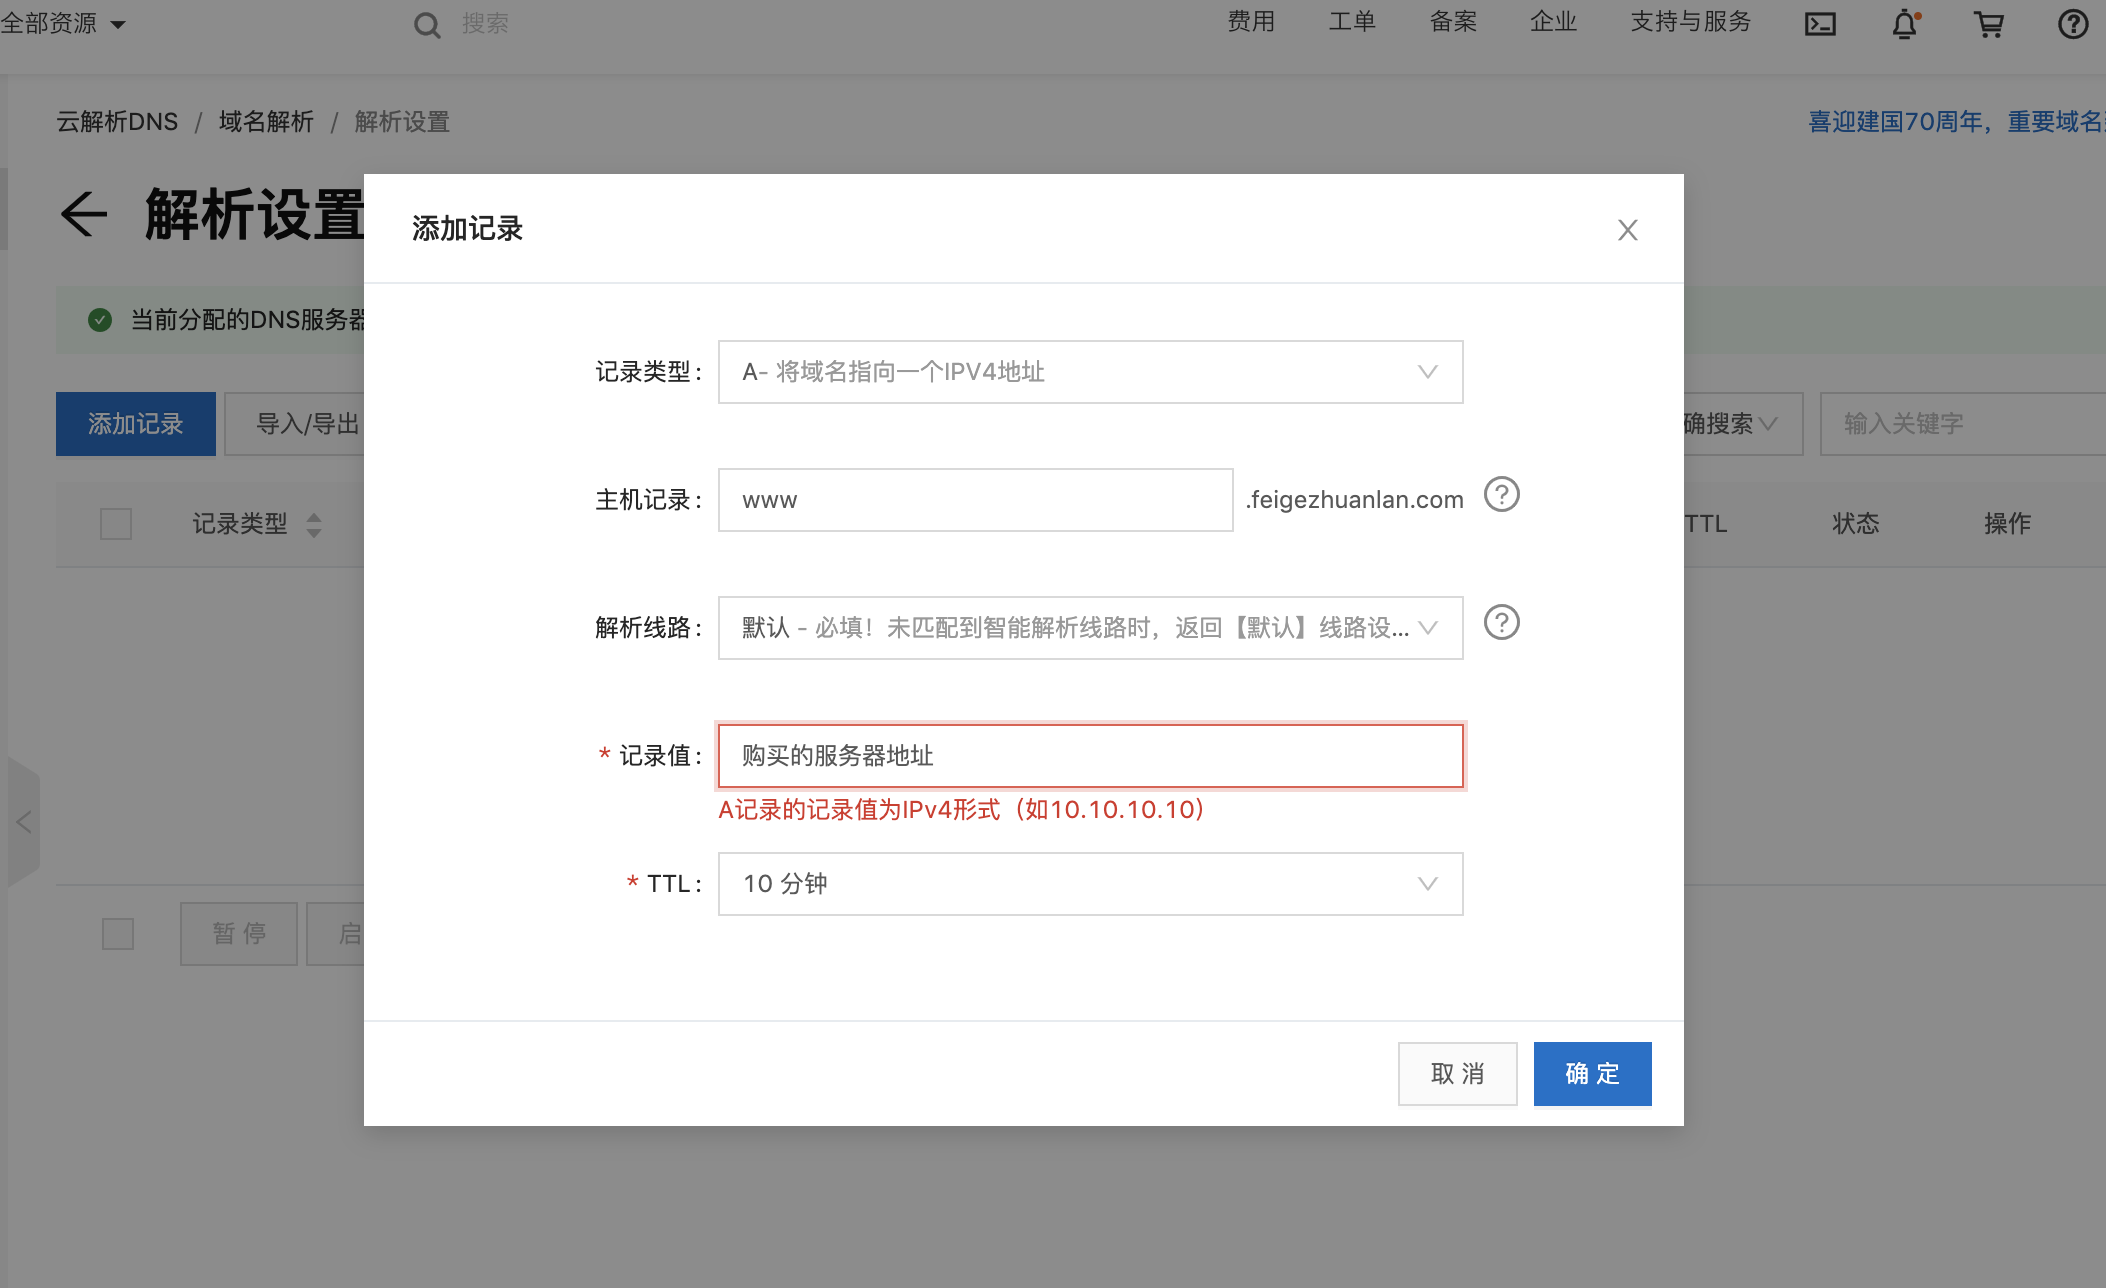

把www,和@都解析同一IP
二、下载中文版的wordpress
下载地址:https://cn.wordpress.org/download/ 这里我们下载.tar.gz 格式,如果已经下载好,可以使用Filezilla上传到服务器。
wget https://cn.wordpress.org/latest-zh_CN.tar.gz
tar zxvf latest-zh_CN.tar.gz
mv wordpress /usr/local/nginx/html/www.ffeeii.com  #www.ffeeii.com替换为自己的域名
三、配置nginx域名和虚拟目录
vi /usr/local/nginx/conf/nginx.conf
#在文件最后面}前面添加server
server {
     listen       80;
     ##更换域名
     server_name  www.ffeeii.com feigezhuanlan.com;
     ##设置root 网站目录
     root /usr/local/nginx/html/www.ffeeii.com/;
     location / {
         index  index.html index.php;
         if (!-e $request_filename){
              rewrite ^/(.*) /index.php last;
         }
     }
     location ~ .php$ {
<code>         fastcgi_pass   127.0.0.1:9000;       </code>
         <code>fastcgi_index  index.php;       </code>
         <code>fastcgi_param  SCRIPT_FILENAME  $document_root$fastcgi_script_name; </code>
<code>         include        fastcgi_params;</code>
    }
 }
##检测配置文件是否准确,出现 test is successful 代表安装成功
nginx -t
nginx: the configuration file /usr/local/nginx/conf/nginx.conf syntax is ok
nginx: configuration file /usr/local/nginx/conf/nginx.conf test is successful
#重启nginx
sudo  nginx -s reload
四、安装wordpress
访问域名,开始进行安装,如果没有出现安装界面,请检查以上步骤是否错误
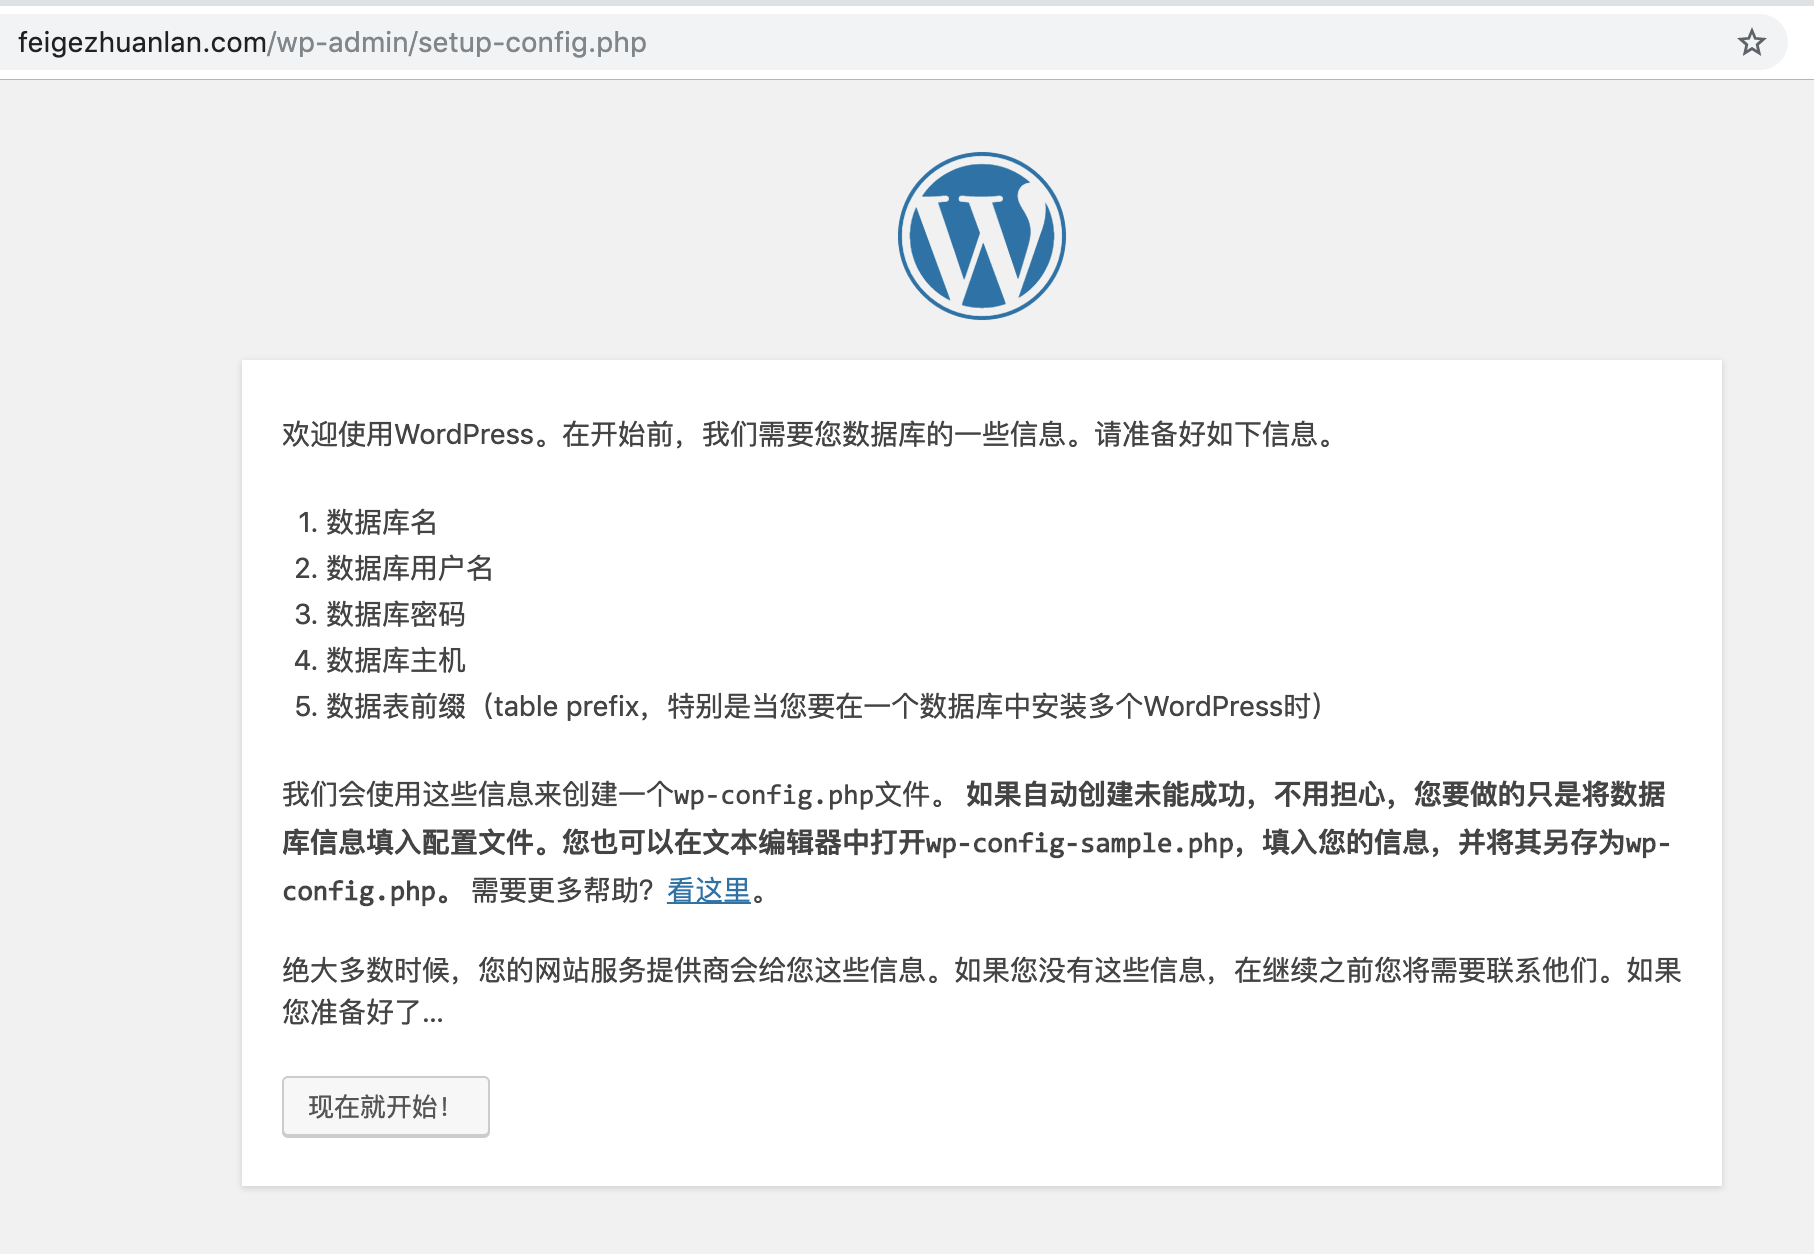
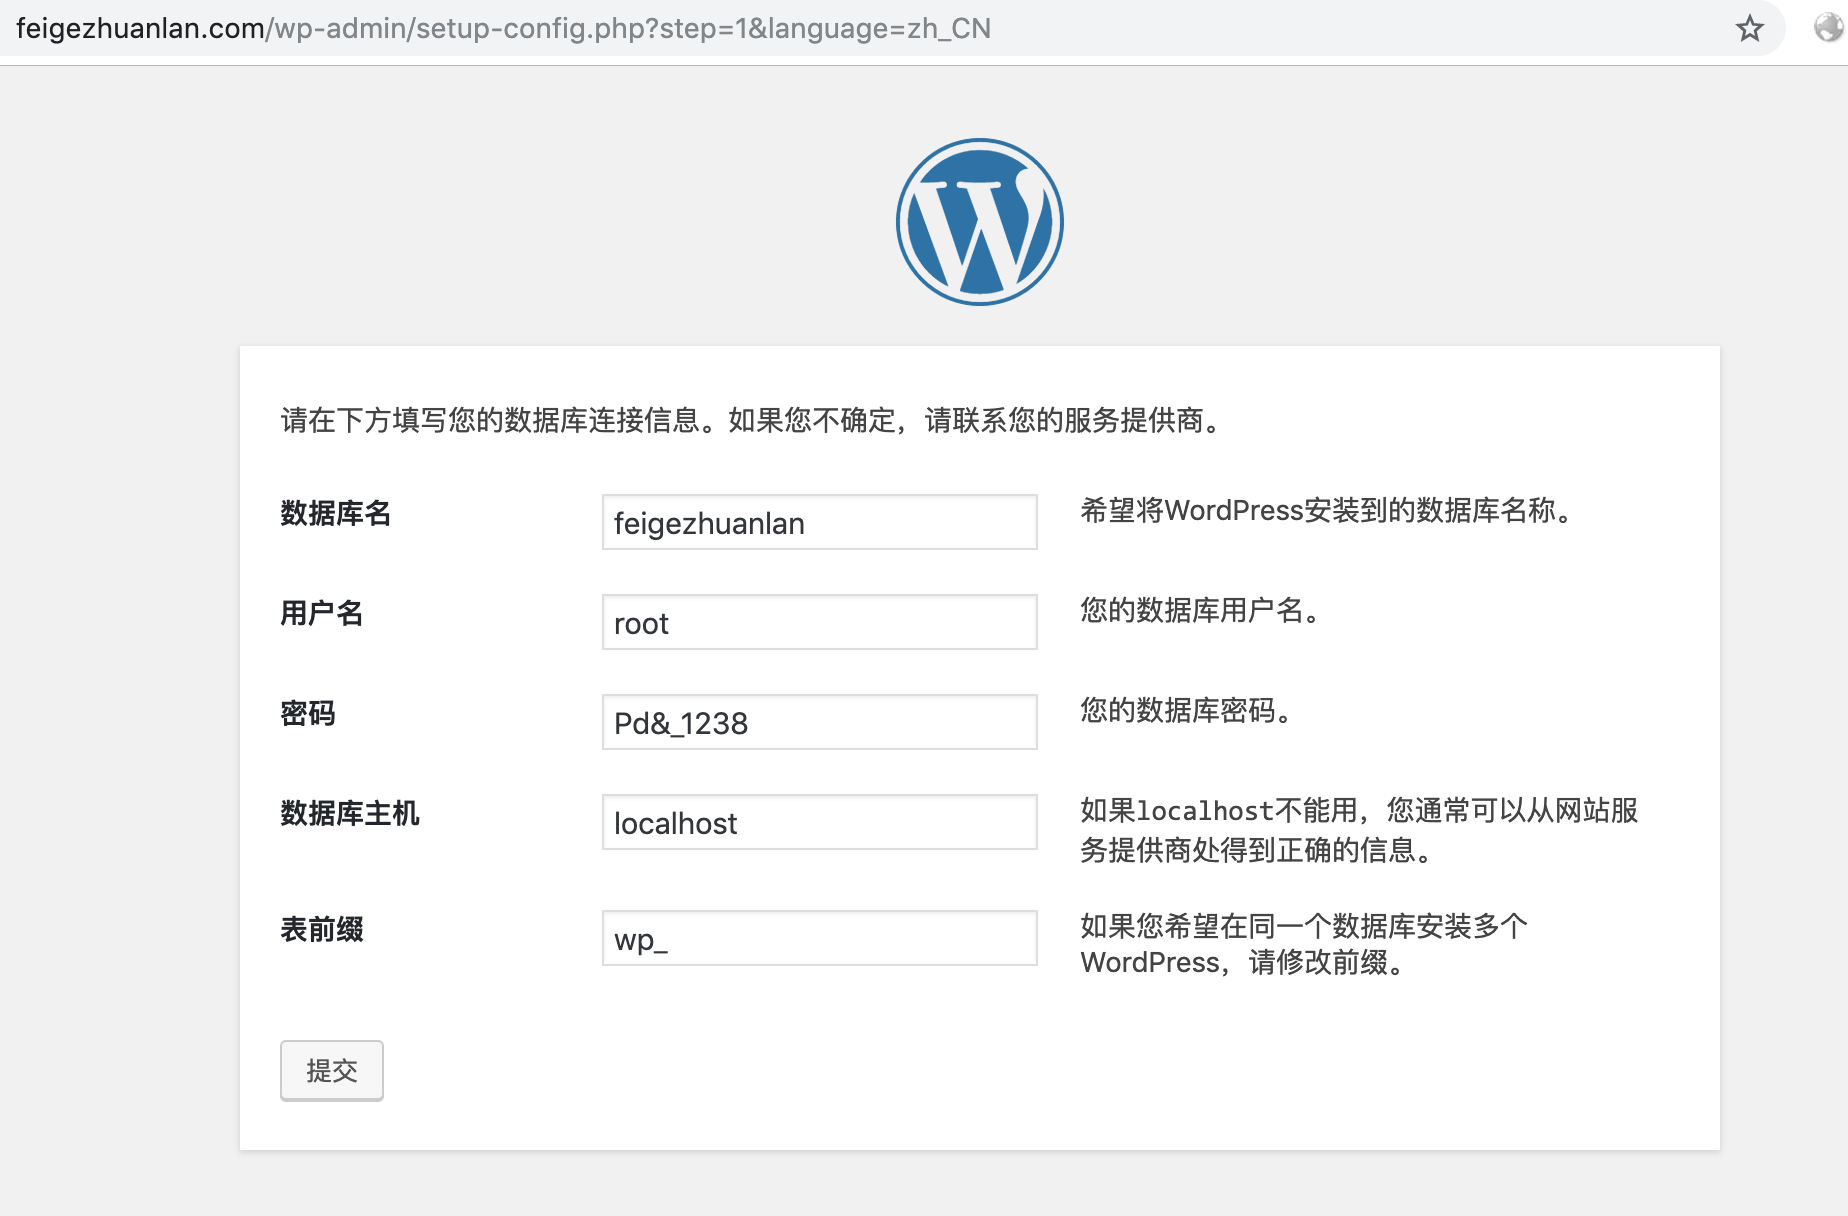
配置数据库账号和密码,如果没有创建库,可以使用phpmyadmin创建
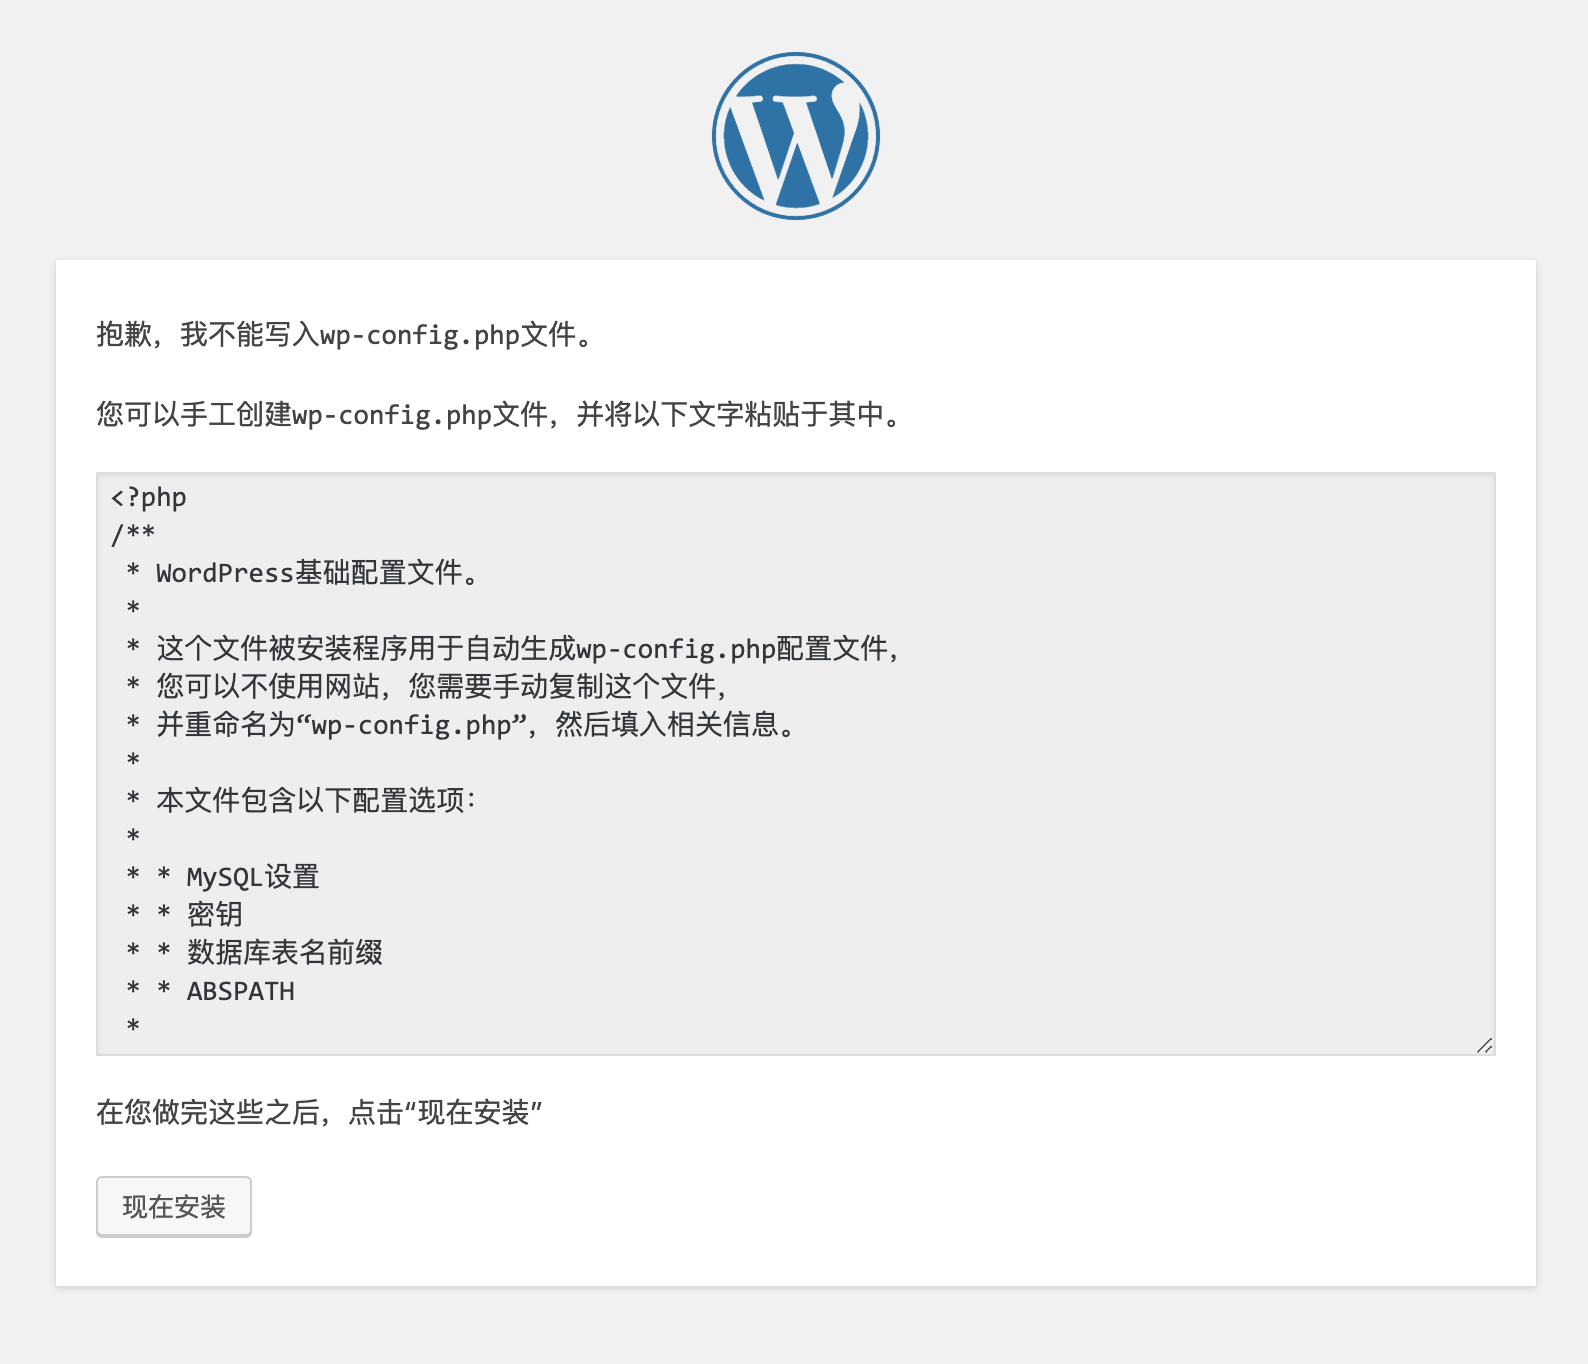
因为linux目前的目录是不能创建文件的,我们手动复制上面的内容到wp-config.php
vi /usr/local/nginx/html/www.ffeeii.com/wp-config.php
复制上面的内容,wp保存
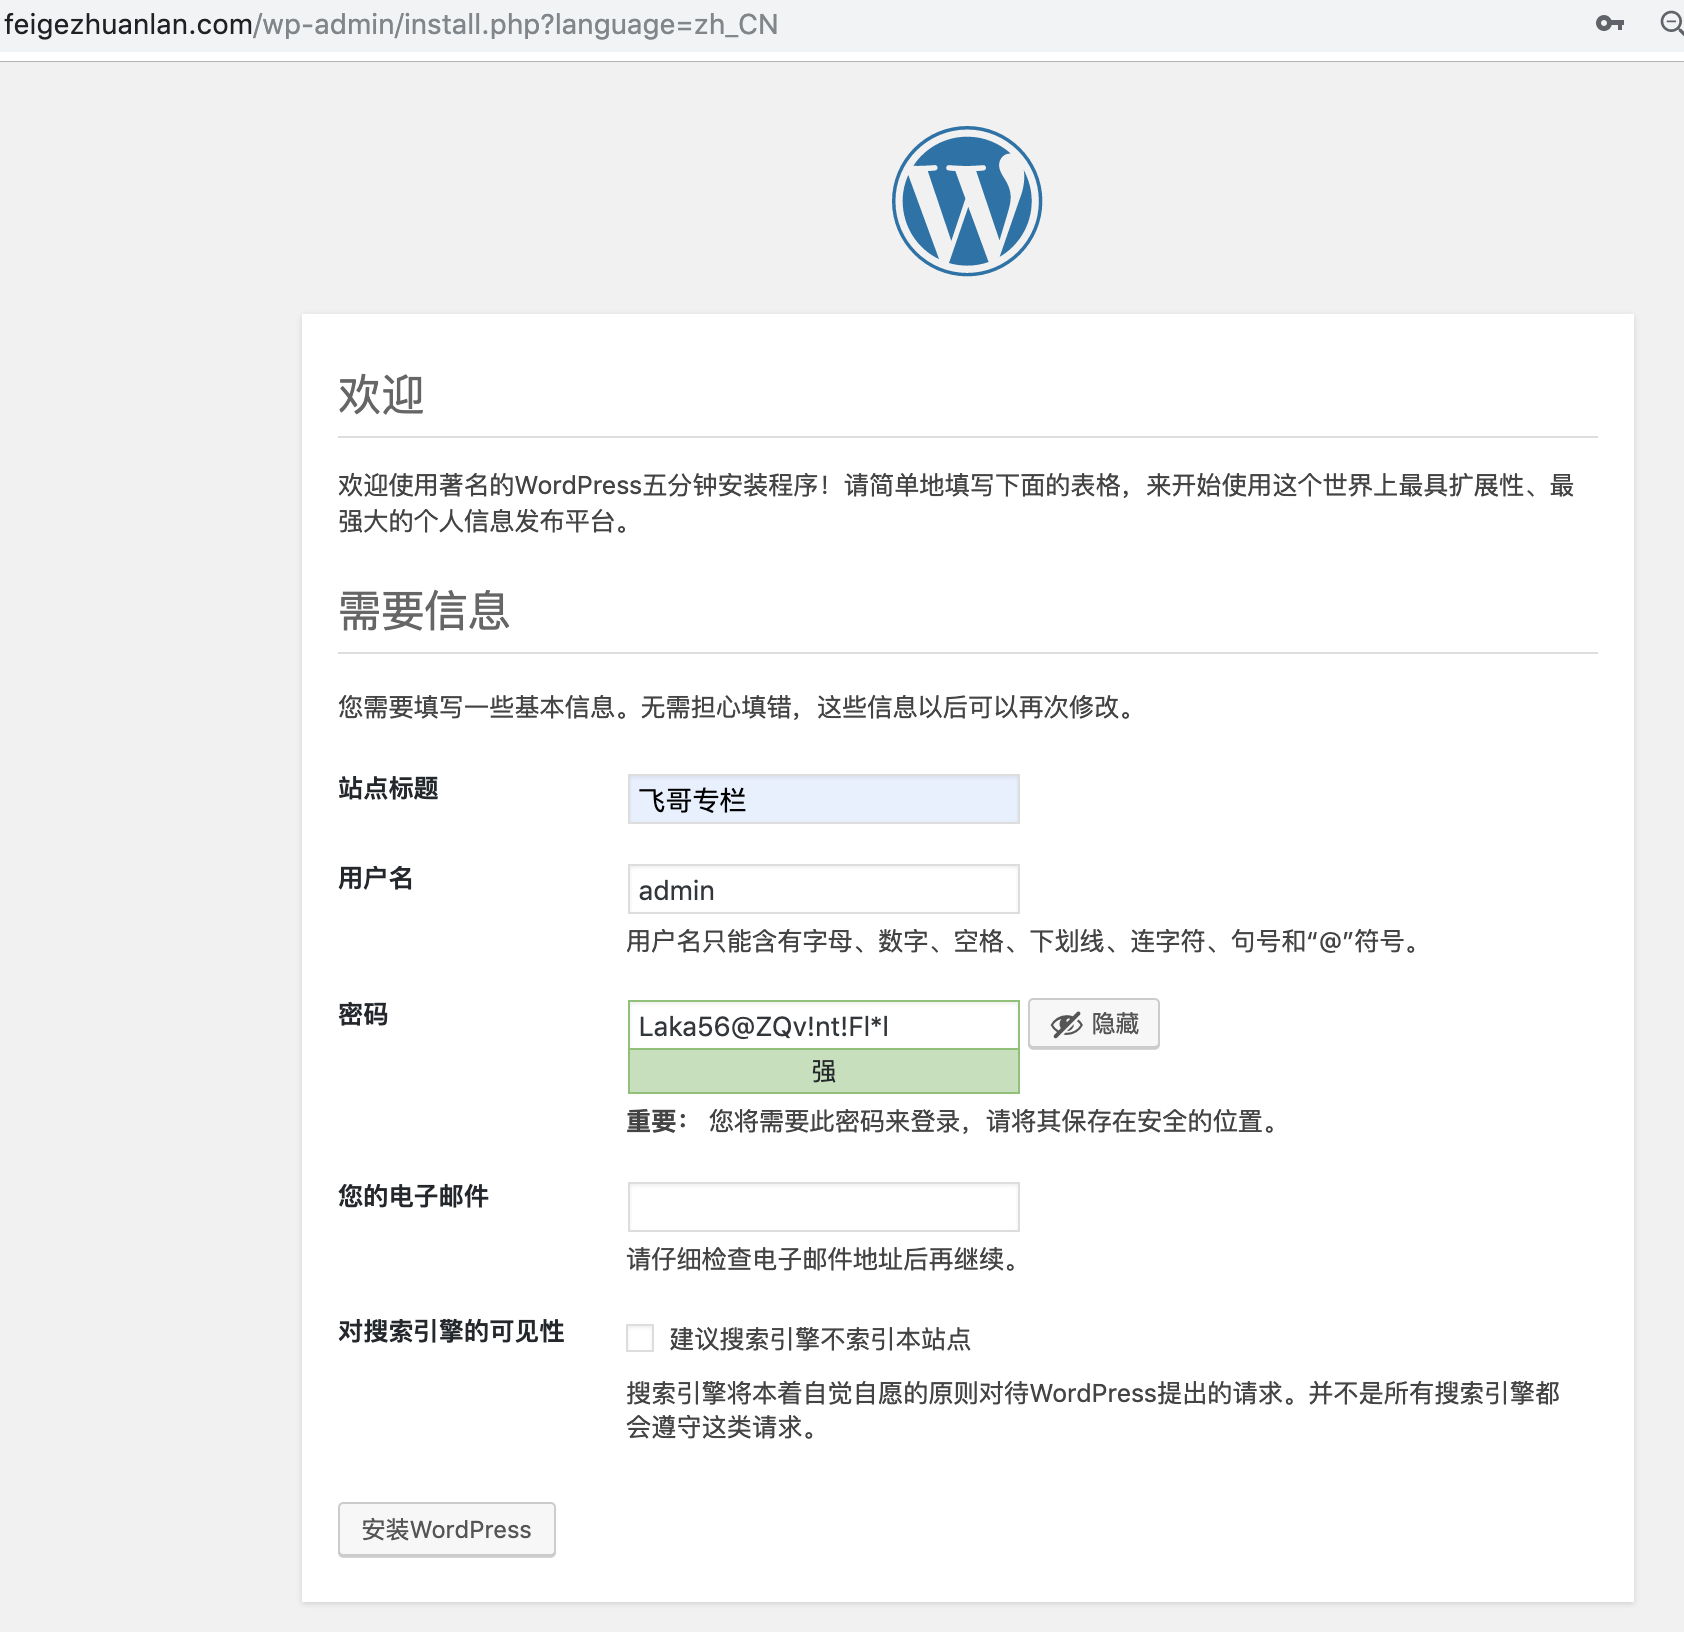 设置站点标题,后台的管理用户和密码
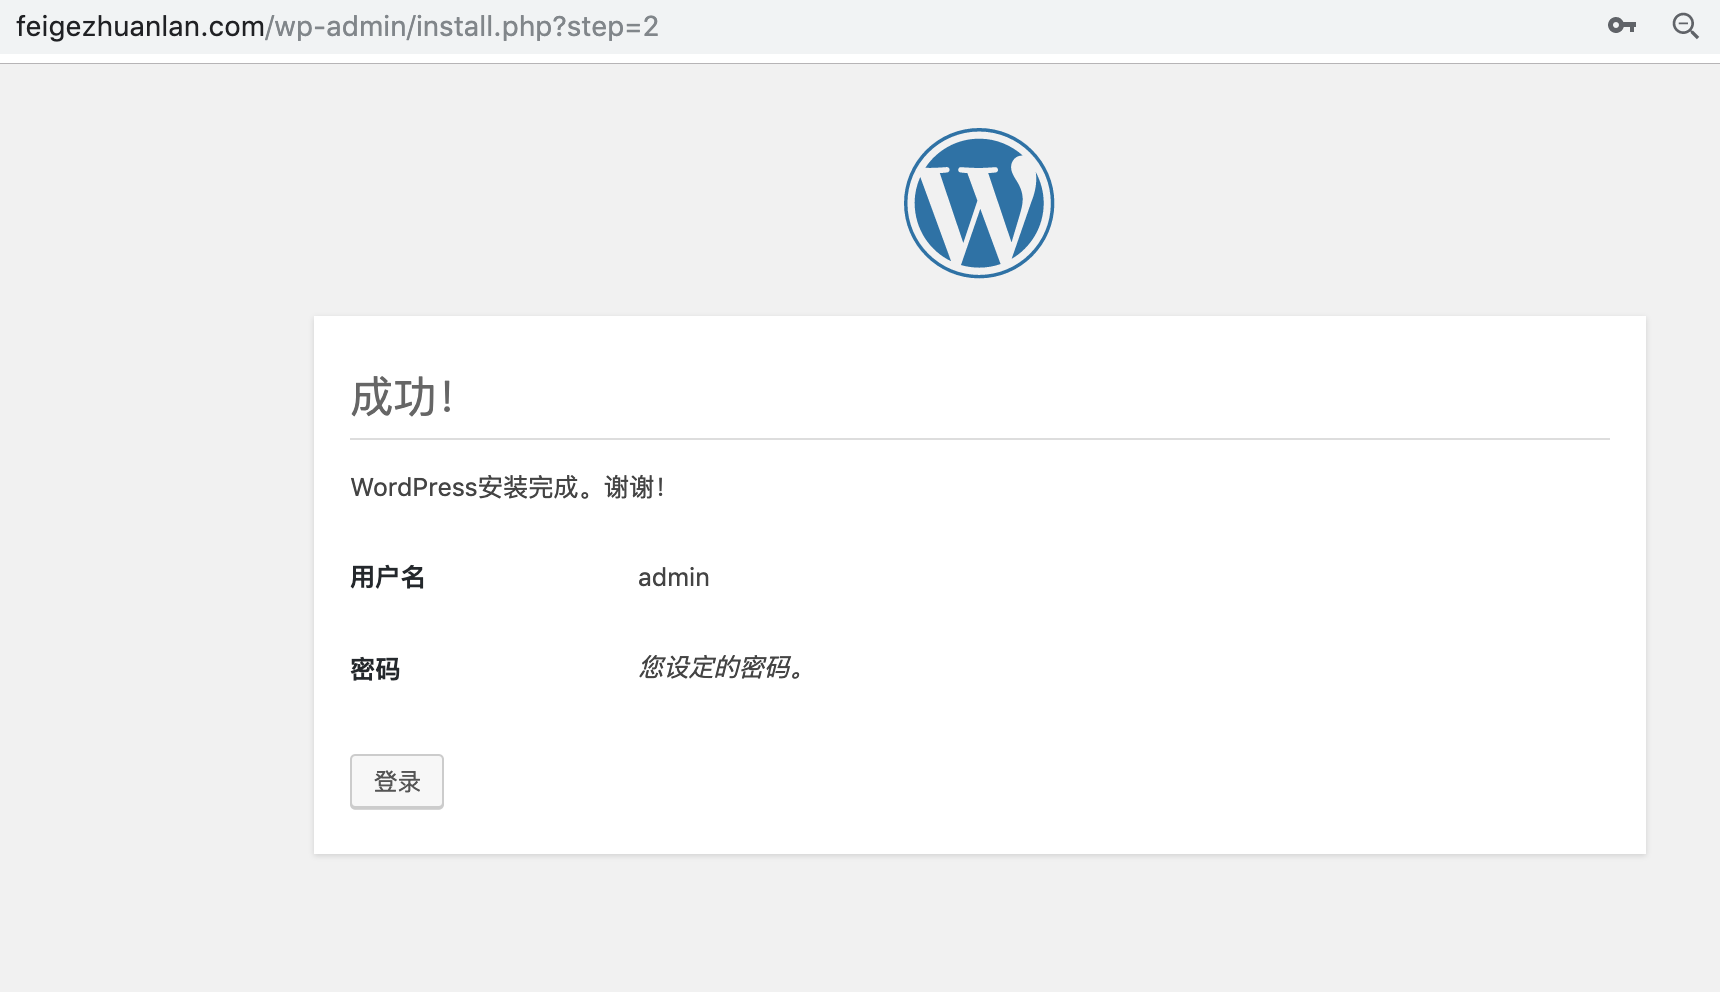 登录后台账号
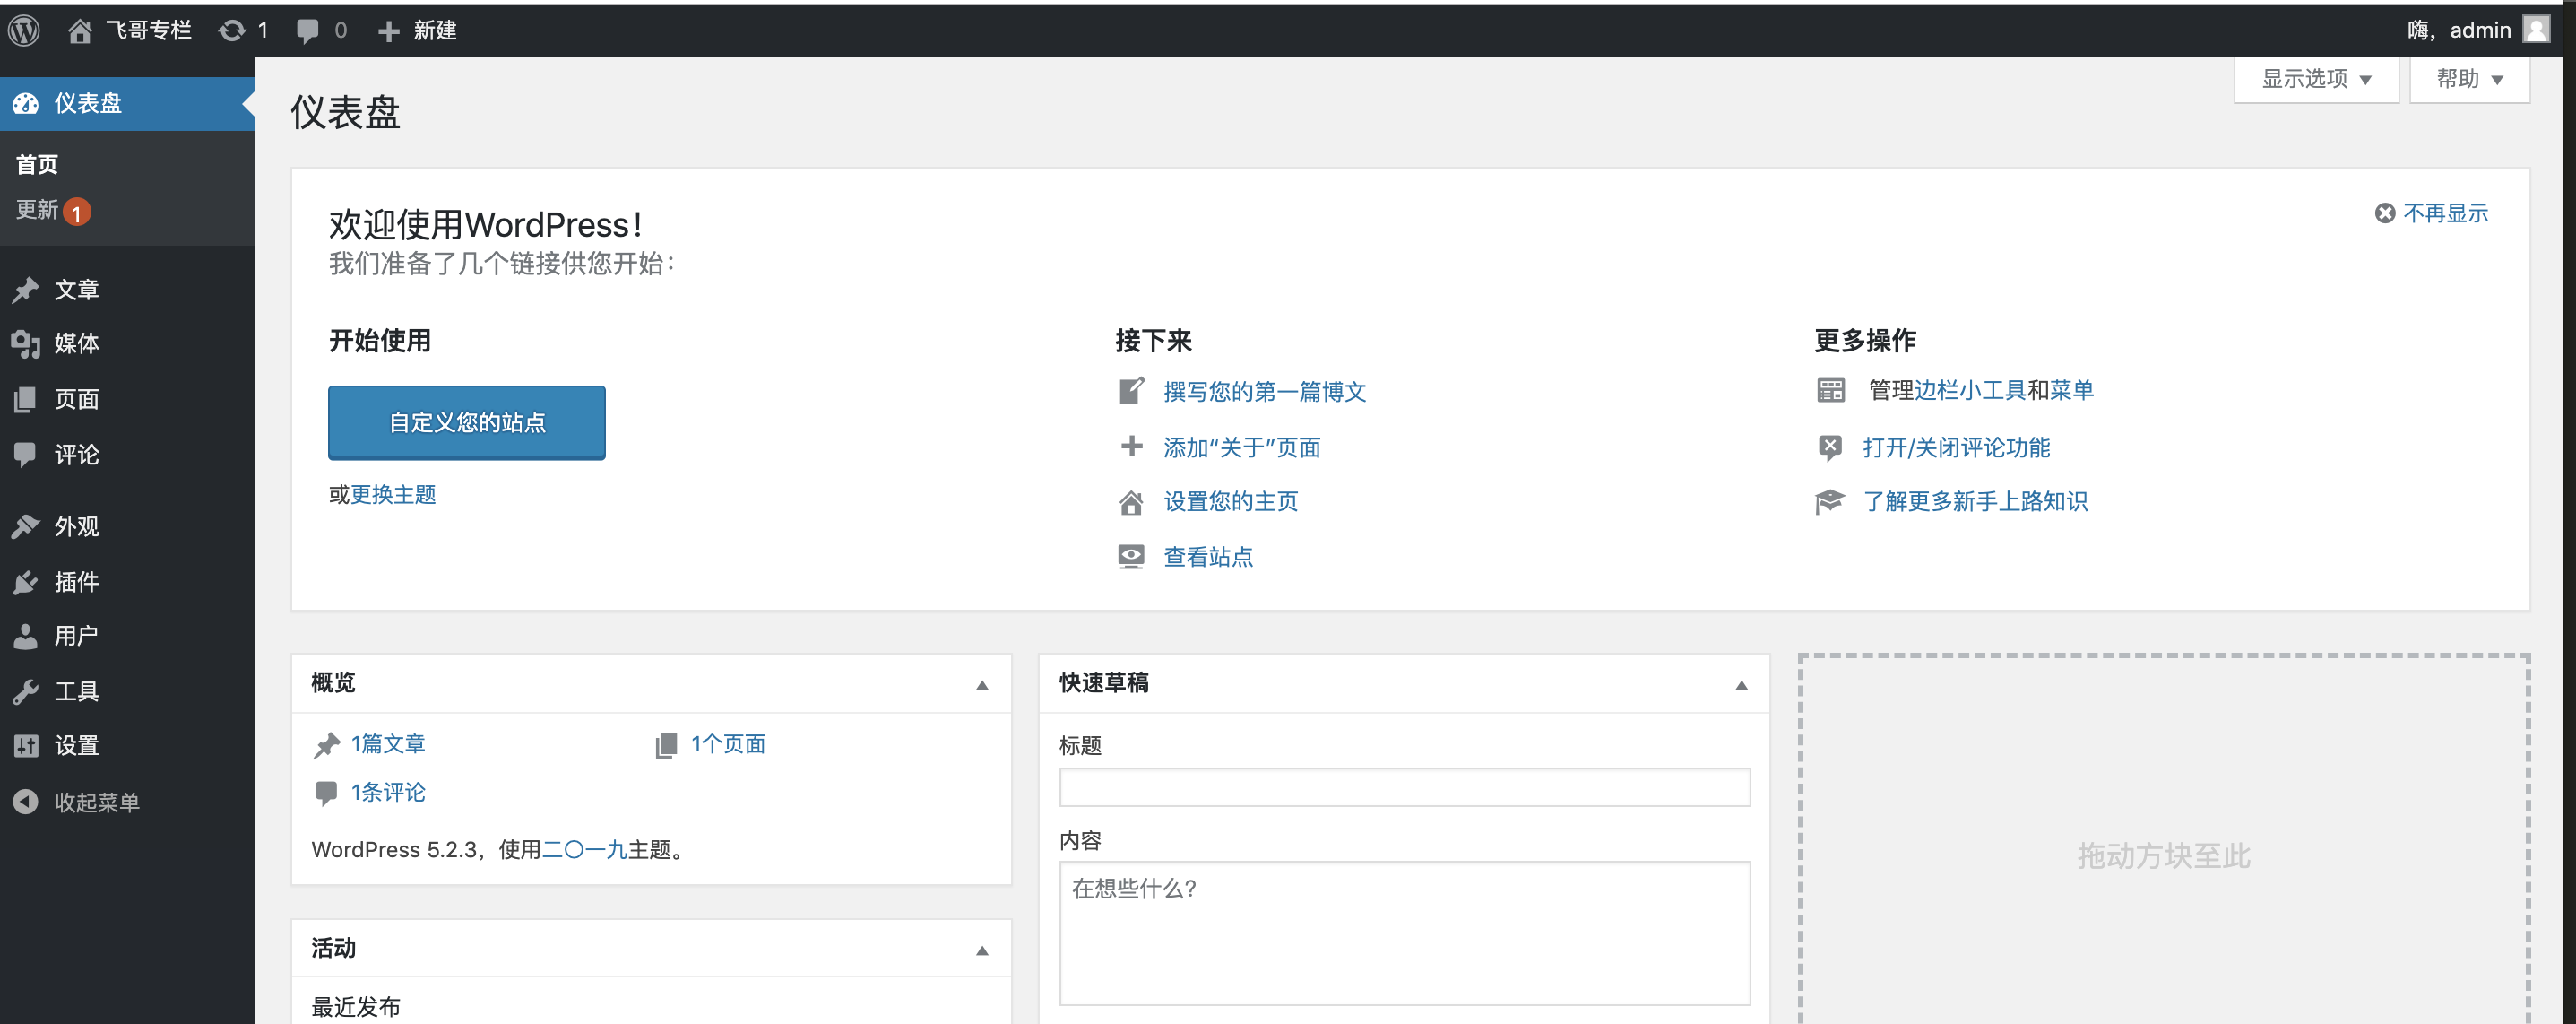 进入后台页面,安装成功
总结:Wordpress安装成功,总体来说还是比较简单,如果在安装过程中有不明白的地方可留言。
专题:阿里云全家桶搭建一个自有域名的 WordPress 博客
 飞哥专栏
飞哥专栏